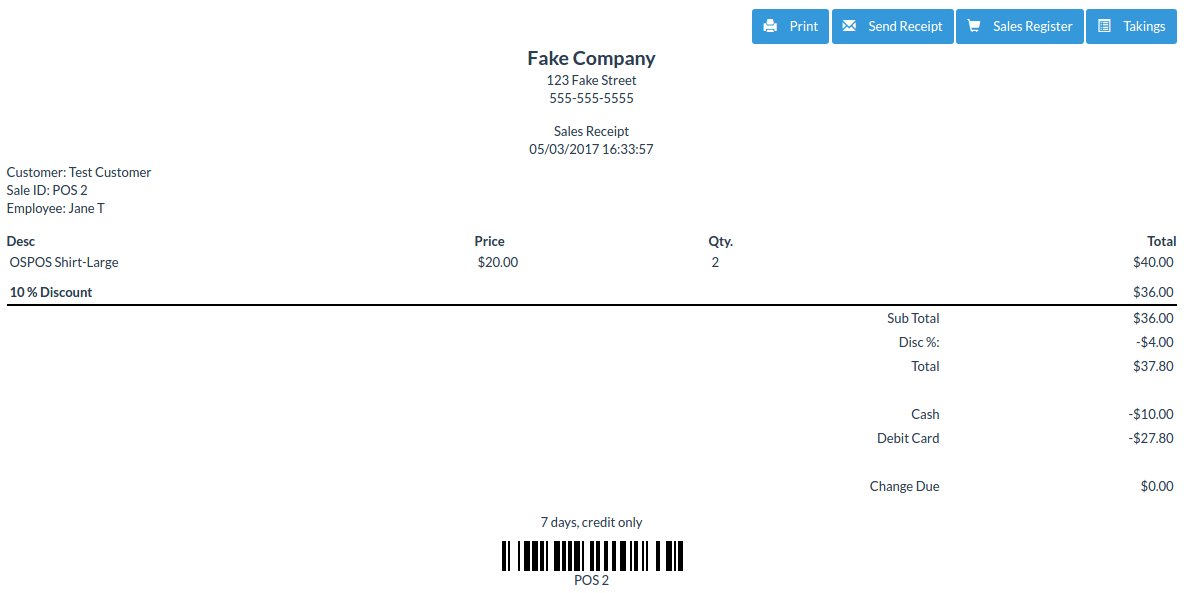
You'll see from the receipt below that your cashier, Jane Test, sold some items to a Mr. Test Customer. He's now come back, and wants to return them.
She should start by clicking on the Sales icon, and then changing the Register Mode from Sale to Return.

When she does this, you'll notice that the Find/Scan Item box changes to Find/Scan Item OR Receipt. This is because, if you have the original receipt, you can scan the barcode or type in the Sale ID.
The Sale ID on this sale is POS 2 so she types that into the box and presses Enter. When she does that, you'll notice that all of the items are loaded with negative quantities and all original discounts. This is because he's returning these items to the store. The original customer is also automatically added to the sale. Now you just have to add a Payment to complete the sale.
He originally paid partly by debit, so she's going to return the funds to his debit card. After she's done that, using her debit terminal, she changes the Payment Type to Debit Card, leaves the Amount Tendered as -37.80, and clicks the Add Payment button. She can now complete the sale.
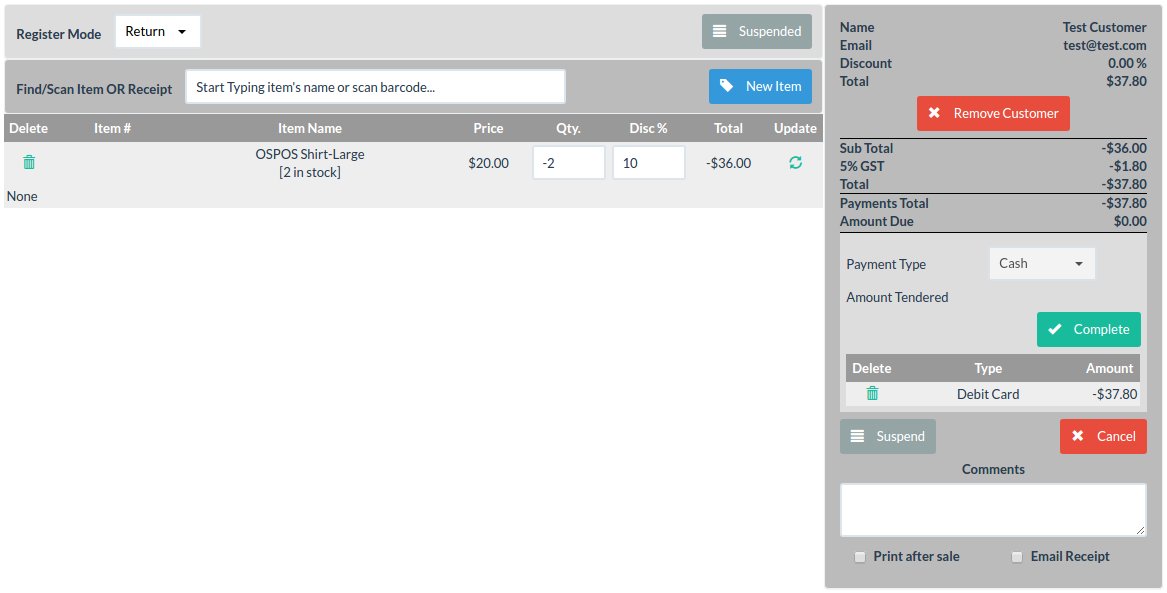
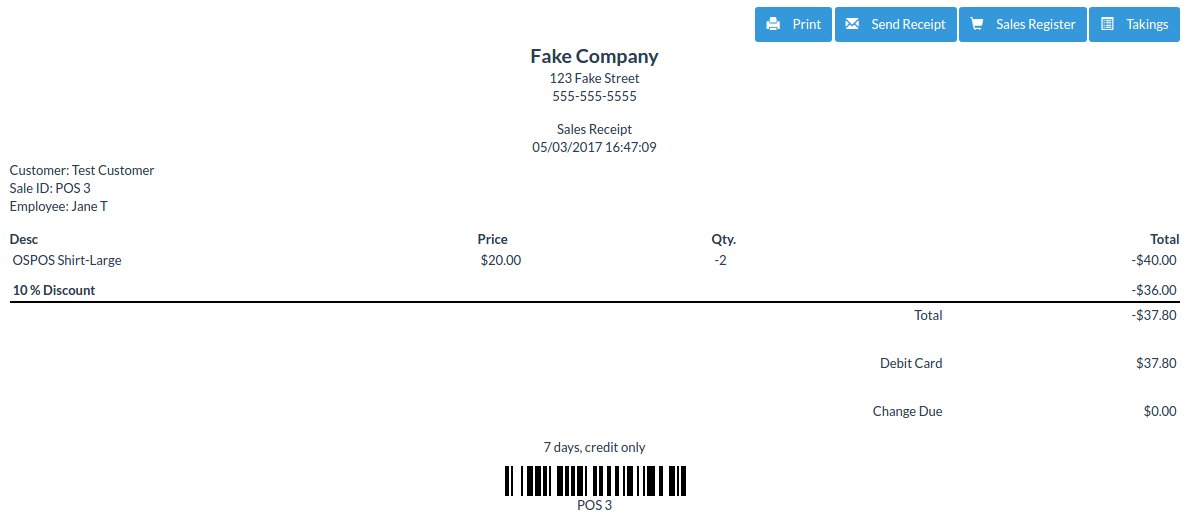
Click the Complete button to complete the sale. When you do this, you'll be shown a Return Receipt.
She could have manually entered the items and the customer, but recalling the receipt is faster and more accurate. If the customer had only wanted to return one of the items, she could have deleted or edited the items before she finished processing the return.