Your cashier, Jane Test, has all of her best customers written down in a binder. She wants to add these to the POS.
She starts by logging in with the credentials you gave her before.
You'll notice that she only has two modules on her welcome screen.
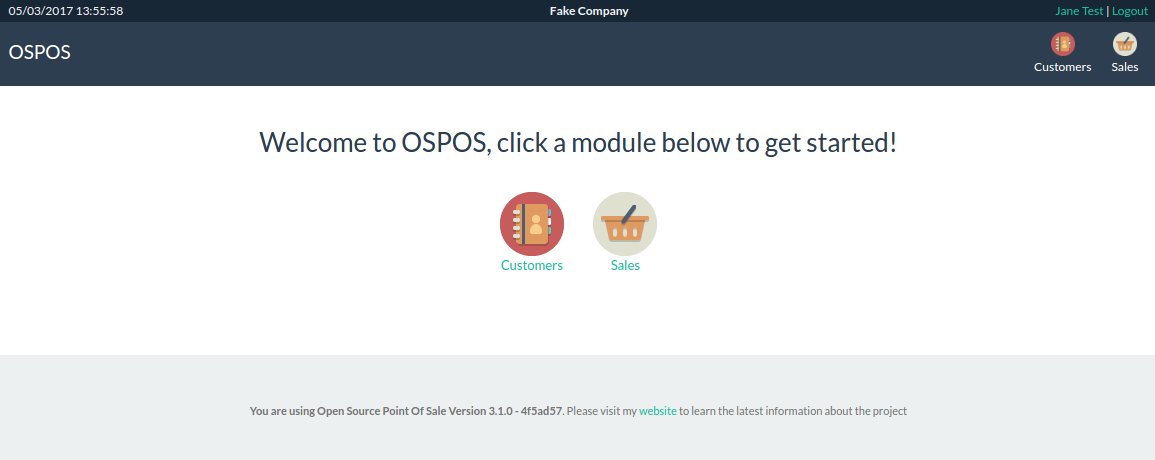
This is because you only gave her access to these two modules.
She clicks on the Customers button to reach the Customers page.

There are two ways to enter customers. If she had an Excel spreadsheet in the right format, she could import them. (See the Importing guide.)
She doesn't, though, so she's going to enter them manually, using the information in her binder.
She starts by clicking the New Customer button.

This will launch the New Customer modal form.
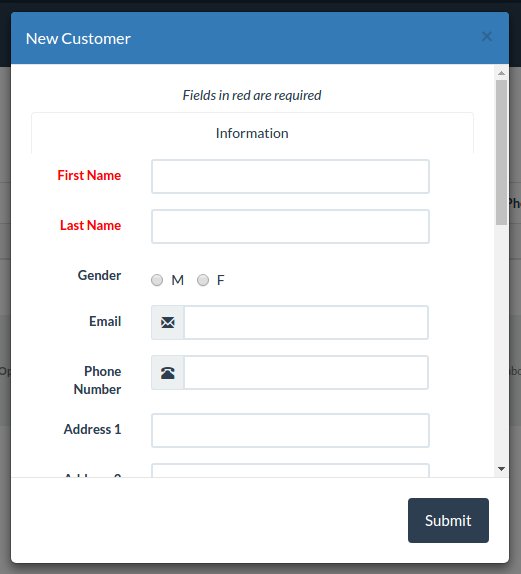
Only the first and last name are required, but Jane Test is a dedicated employee, so she enters all the information she had into the system, including helpful comments about the customer.
When Jane is satisfied with this customer, she clicks the Submit button, and the customer is added to the system. She can follow this process to add all of the customers in her binder.
If you look again at the Customers page, you'll notice that Email and Phone Number are included in the list. This lets you quickly contact your customers.
You can even click on the customer's email address right in the list, and your default email client will launch with that email address pre-populated in the TO: field.
Finally, you can filter this list by typing something into the Search box This will help your employees find customers quickly. You can also sort the list by clicking on the headings.